🧱 How to Work with Sheeting menu
In this step, you will set the type of roof system and roofing.
In the Sheeting menu you can see three basic buttons in left side menu - Roof, Annotate and Measure and also very important Control and Edit buttons placed directly on each individual roof plane.
The Sheeting menu allows you to:
-
Set the type of roof system and roofing.
-
Choose the secondary roof structure
For each individual roof plane, you can:
-
Change the tiling parameters (the direction, angle, and offset for the placement of roof elements from the edge of the roof).
-
Display a bill of materials for roof covering items.
-
Generate a ground plan of the roof structure in the form of an editable drawing. 💡Tip: When you modify this drawing, the changes are automatically reflected in all outputs where it is included.
1️⃣Setting the type of roof system and roofing
Click the Roof button. Two additional buttons will appear: Top layer and Lower layers. Use these buttons to select the material for each layer from the product library.
📌 This way, you are working with the roof as a whole.
If you want to work with individual roof planes and adjust their properties, use the Edit and Control buttons located directly on each roof plane in the model. These buttons allow you to modify the roof structure of the selected roof plane and more.
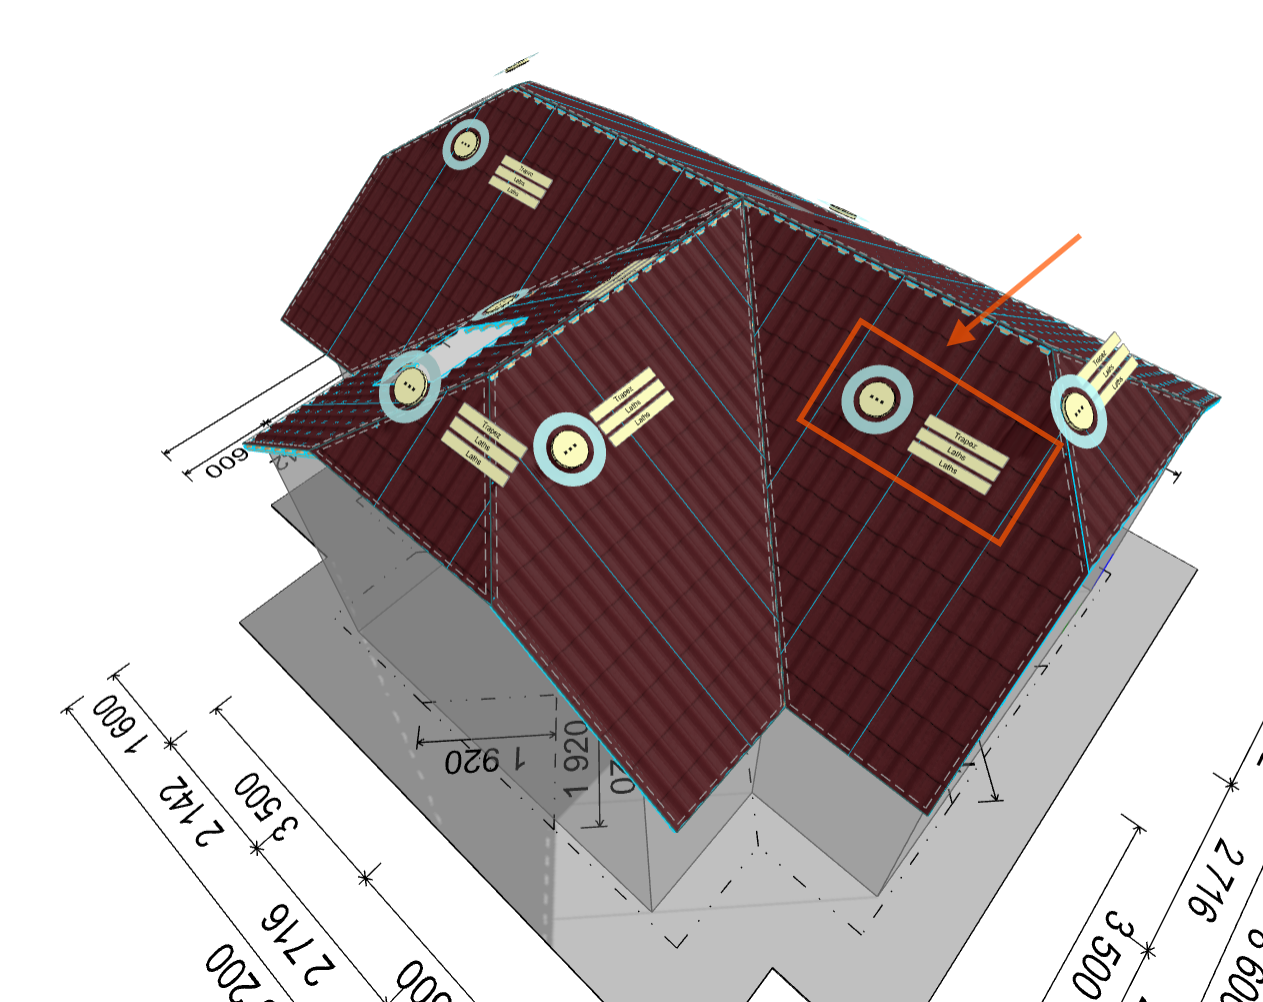
2️⃣Changing properties of individual roof planes using Control and Edit buttons
Settings and modifications of individual roof planes can be made using the Control and Edit buttons.
⚠️ Note:* Certain functions like Control and Edit buttons are accessible only in Advanced mode. Check the Settings guide for instructions on unlocking all features.*
Control button 
Once you click the round Control button, several additional buttons appear in the left menu:
-
Properties\ Use the Properties button to name the selected roof plane and adjust other parameters of the specific roof plane.
-
Use the Materials button to select the material for each layer from the product library. For some coverings, the Lower layers button may be hidden by default, and the secondary structure is therefore not generated for such a covering.
-
Press the BOM (Bill of Materials) button to display a list of roof covering items for the respective roof plane in a clear table.
-
Use Drawing button to generate a installation drawing of the specified roof plane, including the entire composition of the roof structure.
💡How to generate and edit the installation drawing. 👉 See this article for more information.
Editing Buttons 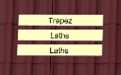
The Editing buttons are located directly on the roof model, right next to the Control button. By clicking the specific Edit button, you can access and edit the selected roof layer. For each layer of the roof on the selected plane, you can:
- choose the type of roof covering or secondary structure layer, and adjust its size, position, direction, and angle.
💡For roof covering layers, you can also adjust the tiling in detail (see below)
-
create a simple floor plan of the layer as an editable drawing
-
and, for roofing, display a bill of materials of this layer
📌 The available options may vary depending on the type of roofing or secondary structure.
💡How to edit tiling - Quick and easy tiling adjustments👉 See this for more information.