🏠 Using the OBJ Model to Generate the Roof Automatically
Got a 3D model from a BIM project, drone scan, or satellite survey? Perfect - HiStruct speaks OBJ fluently. With OBJ, HiStruct generates the 3D roof model automatically. If you don´t have such a model available, there are companies that offer surveying of existing buildings. Regardless of whether the surveying is done with drones or satellites, the result is usually a detailed 3D model in OBJ format.
❓What if I receive a 3D model in PDF format and I don't have OBJ?
If you have a 3D model in PDF format, you need to convert it to OBJ format, which is supported in HiStruct. It's easy. Check this guide to see how quickly convert 3D model from PDF to OBJ.
The resulting model can look like this:

How to insert an OBJ Model in HiStruct
-
Click Import.obj button. This will open a dialog box where you can upload your model.
-
Pick the insertion point. After selecting the file, click anywhere in the scene where you want the model to appear.
-
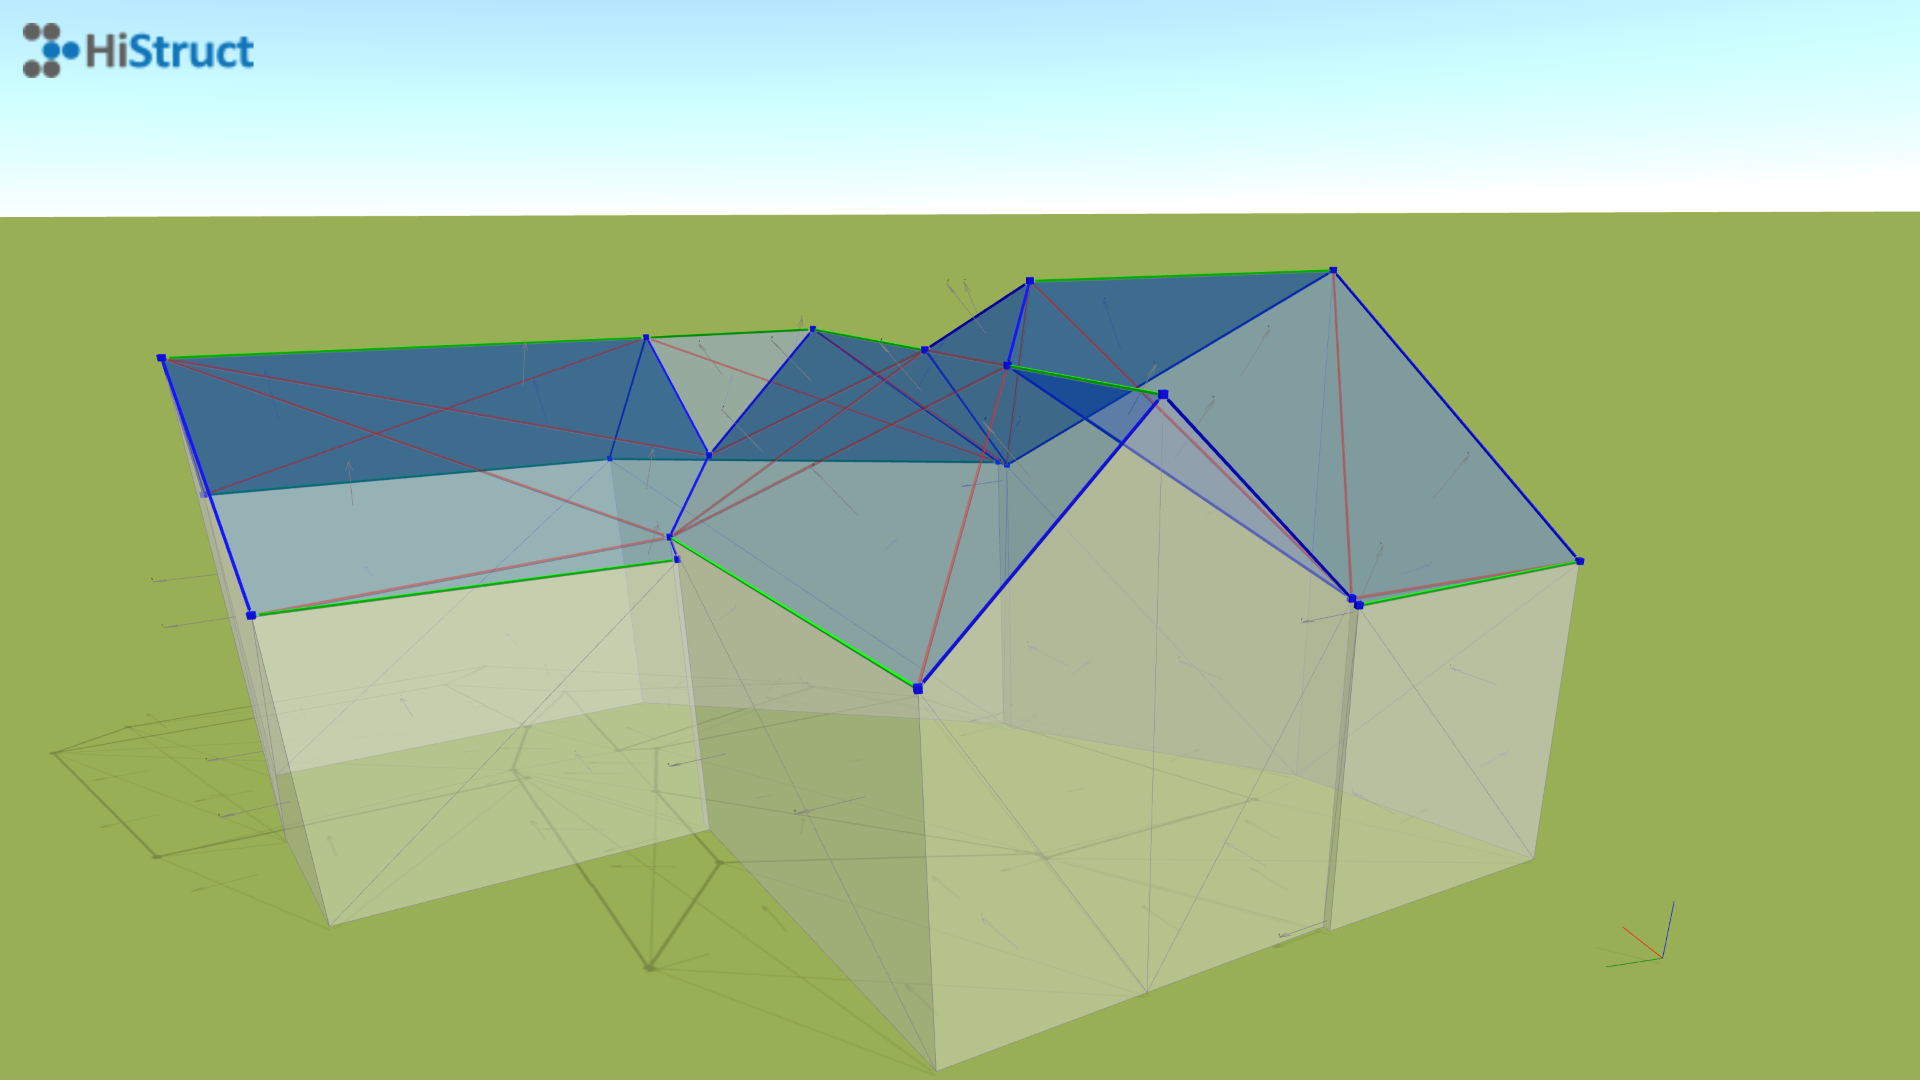
Let the roof generator work its magic. HiStruct will automatically detect roof planes and edges, then create a 3D model from triangular surfaces defined by those edges.
-
Make manual adjustments if needed. Even though the generator is nearly flawless, occasionally an edge might be missed or a face classified incorrectly. You can fine-tune any generated edges or surfaces directly in the model.
🔧 Fine-tuning your model
Edges
-
Click any edge to edit its properties
-
The individual edges are color coded into 3 groups according to their function:
🟦 Gable edge - a sloped edge at the end of a roof surface; it marks the boundary of that surface.\ 🟩 Eaves edge - a horizontal edge of a roof surface.\ 🟥 Internal edge - an edge inside a roof plane, used only to split surfaces; it's ignored in roof generation.
- You can toggle each edge on or off and set whether it should be treated as horizontal.
Faces
-
In the same way as edges, you can change the properties of each recognized face.
-
Based on its orientation, HiStruct decides if it's part of the roof.
-
Click any face to include or exclude it from the roof. Included faces will have sheeting, secondary structures, and flashings generated on them.
-
Faces are color-coded into two groups:\ 🟦 Blue - part of the roof; used for generation.\ ⬜ White - not part of the roof; excluded.
-
When everything looks good, click "Next" and let HiStruct do the rest.
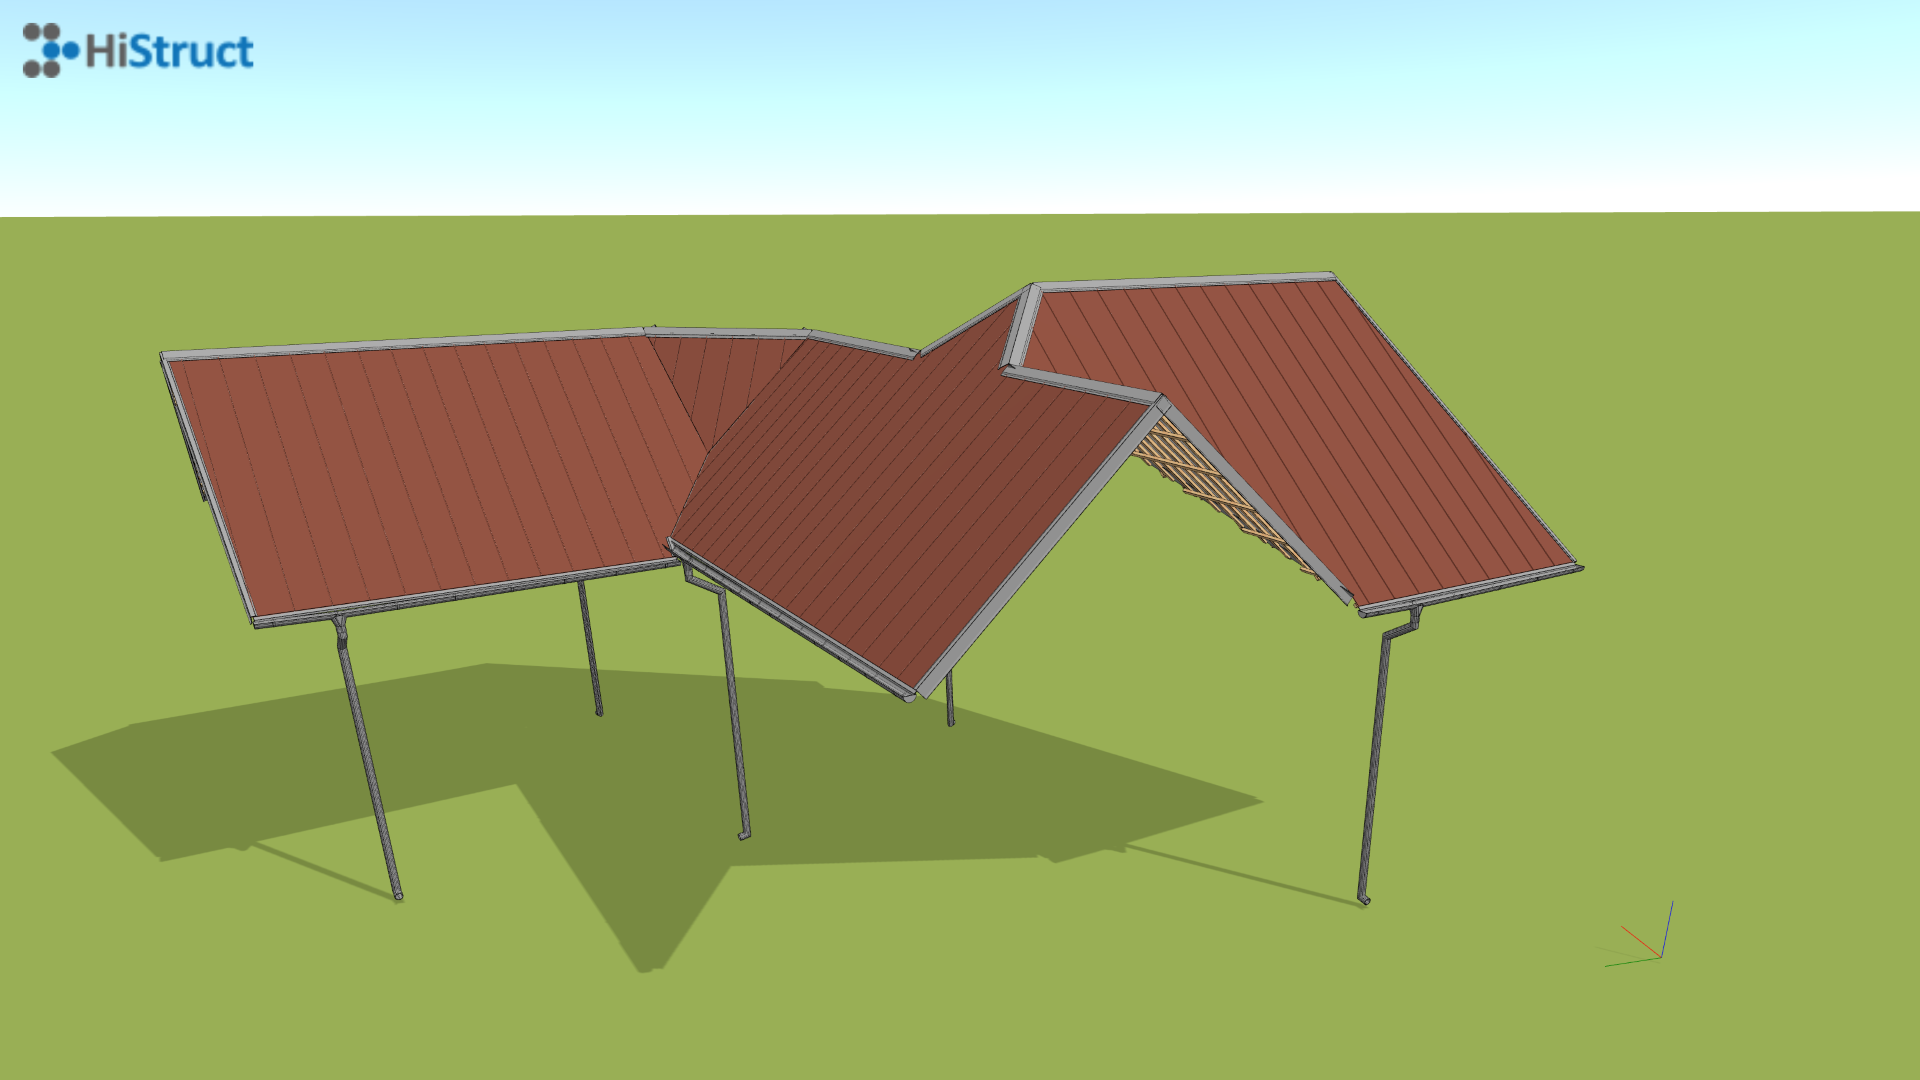
- The generator will walk you through the next steps and help you effortlessly create the roof you want - complete with all the accessories.